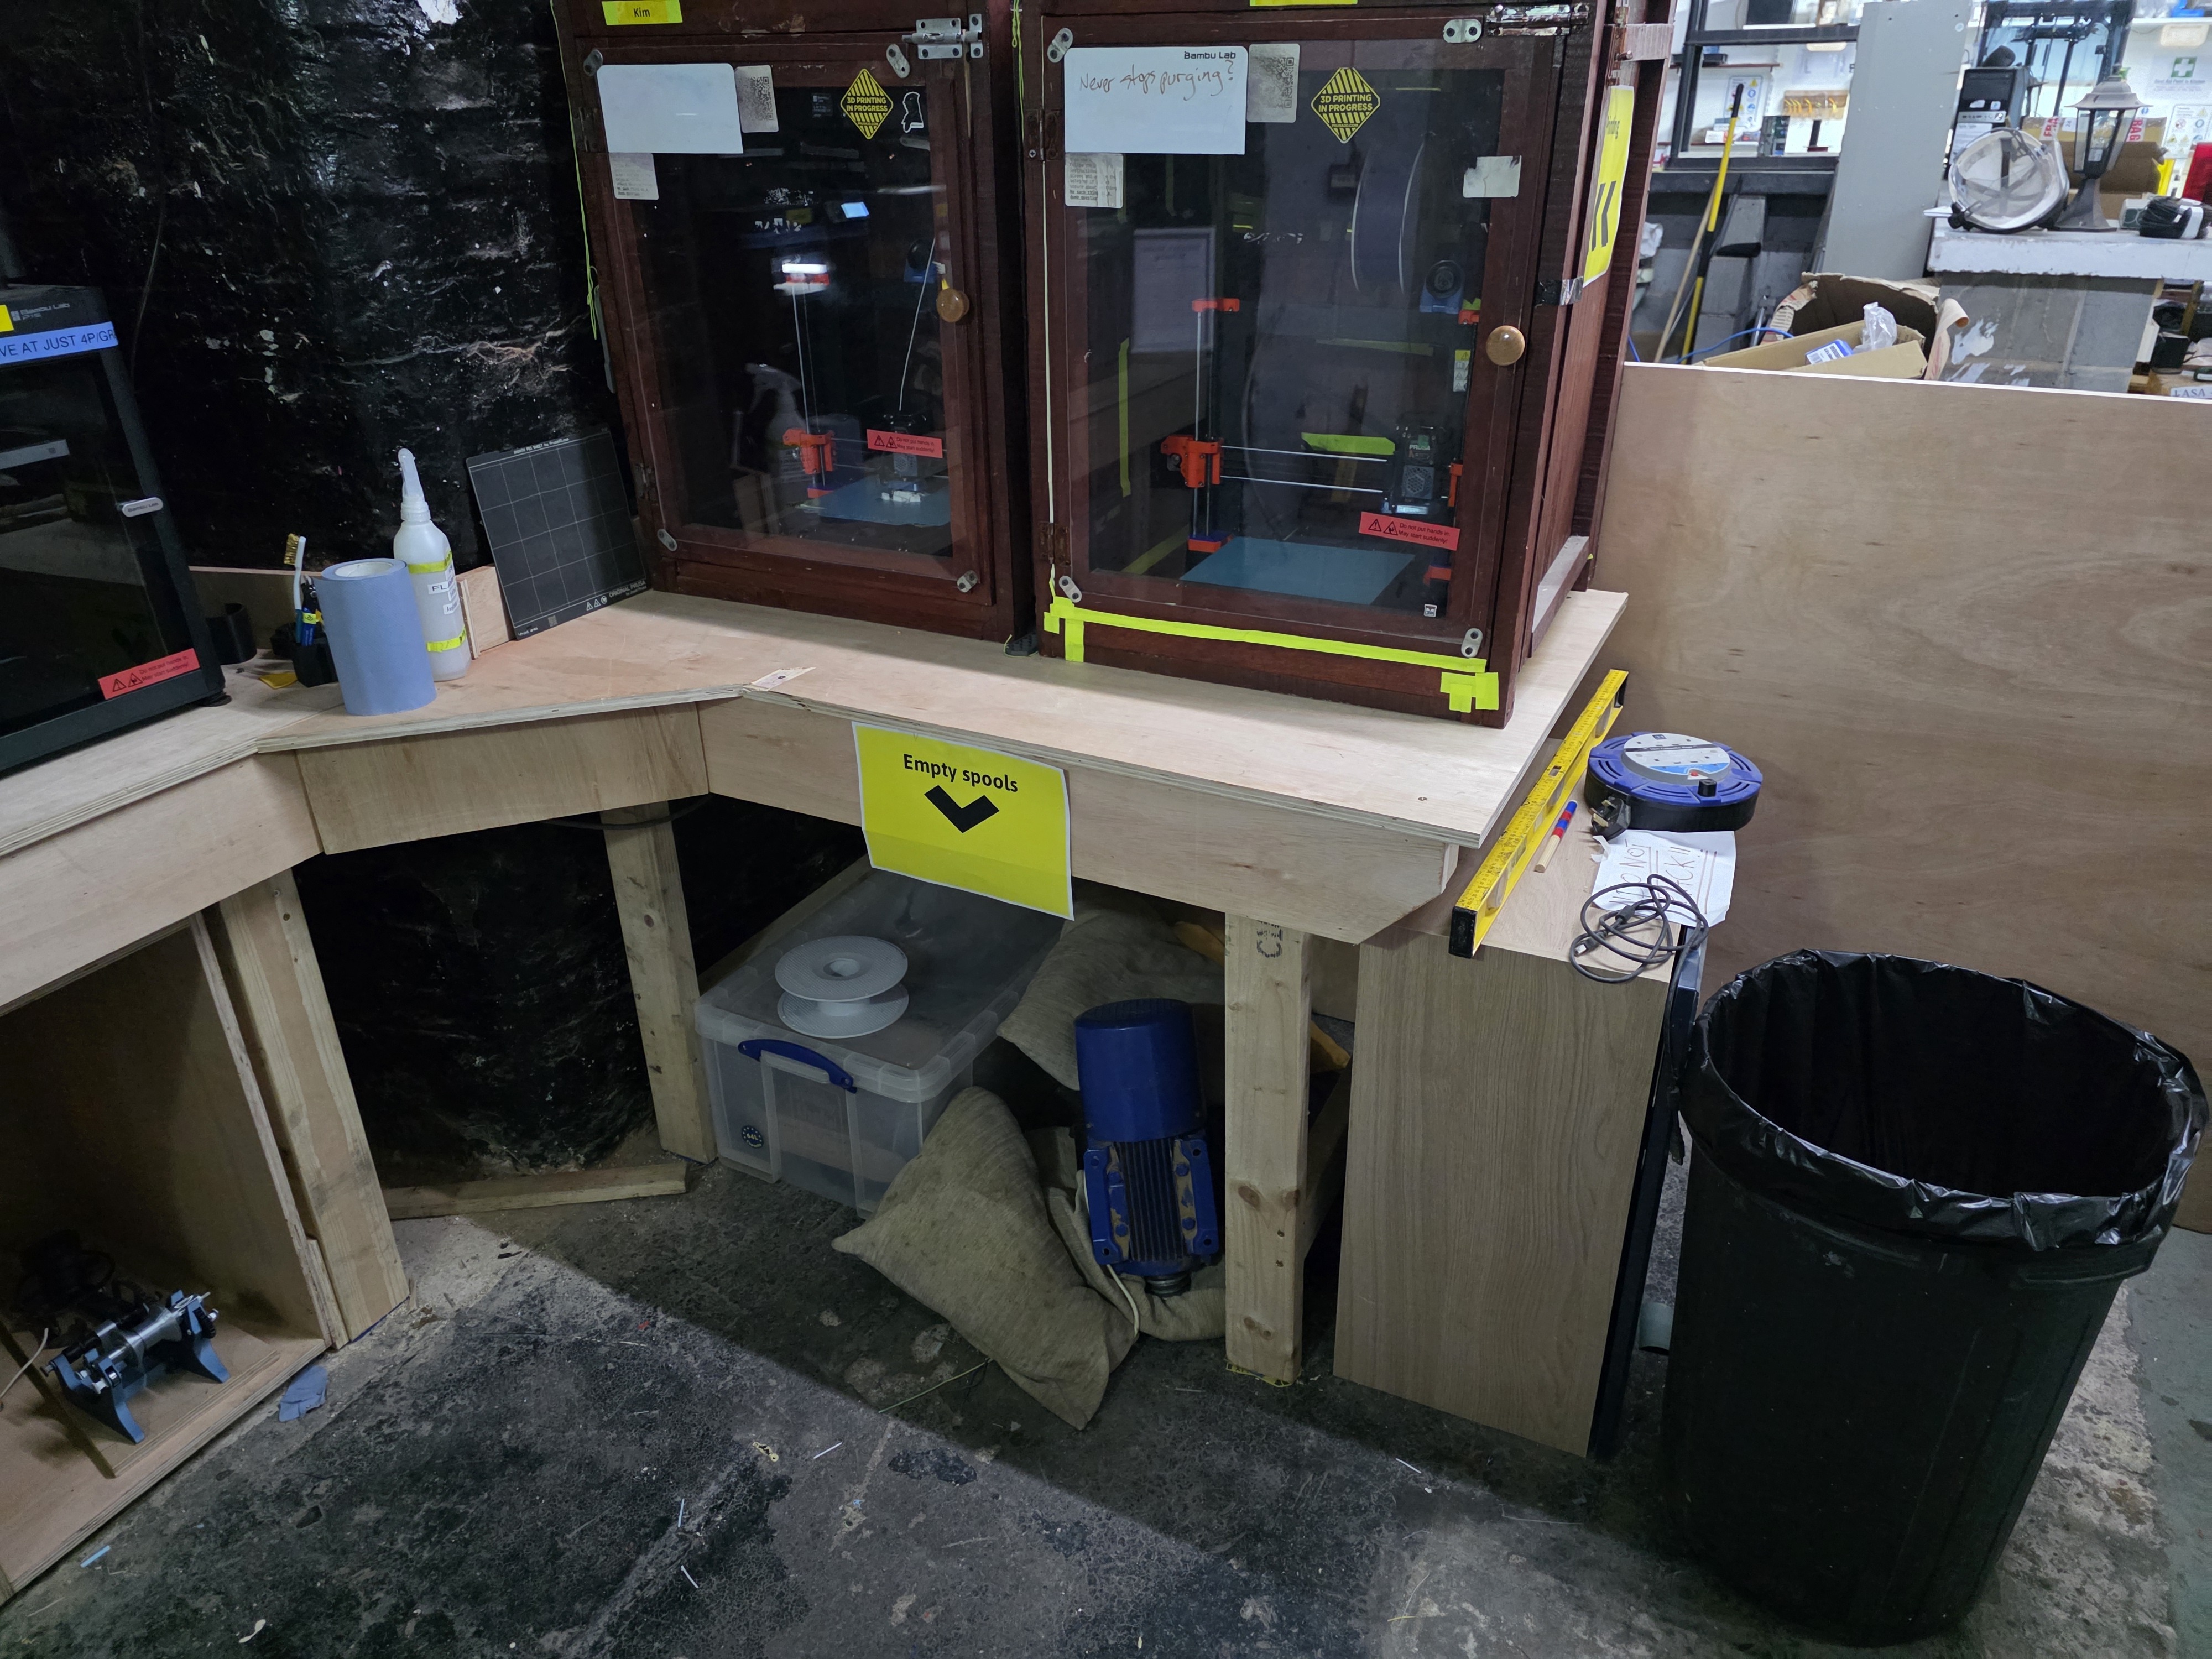
Getting Started
Complete the self-induction and pass the online assessment before independent use.
1. Prepare the model
You can design your own model in CAD, but you do not need to do that for your first print. Many members start with a ready-made STL or 3MF file from sites such as Printables, MakerWorld, Thingiverse, Thangs or MyMiniFactory.
For a first print, choose something small, simple and clearly marked as printable. Check the licence and avoid very large or complex models until you are comfortable with the workflow.
Open the model in PrusaSlicer for a Prusa MK4 or Bambu Studio for a Bambu printer. Select the exact printer, nozzle, build plate where applicable and filament profile.
Slice the model and inspect the preview. Check the estimated time and filament use.
2. Check the printer
- Available and not marked out of service
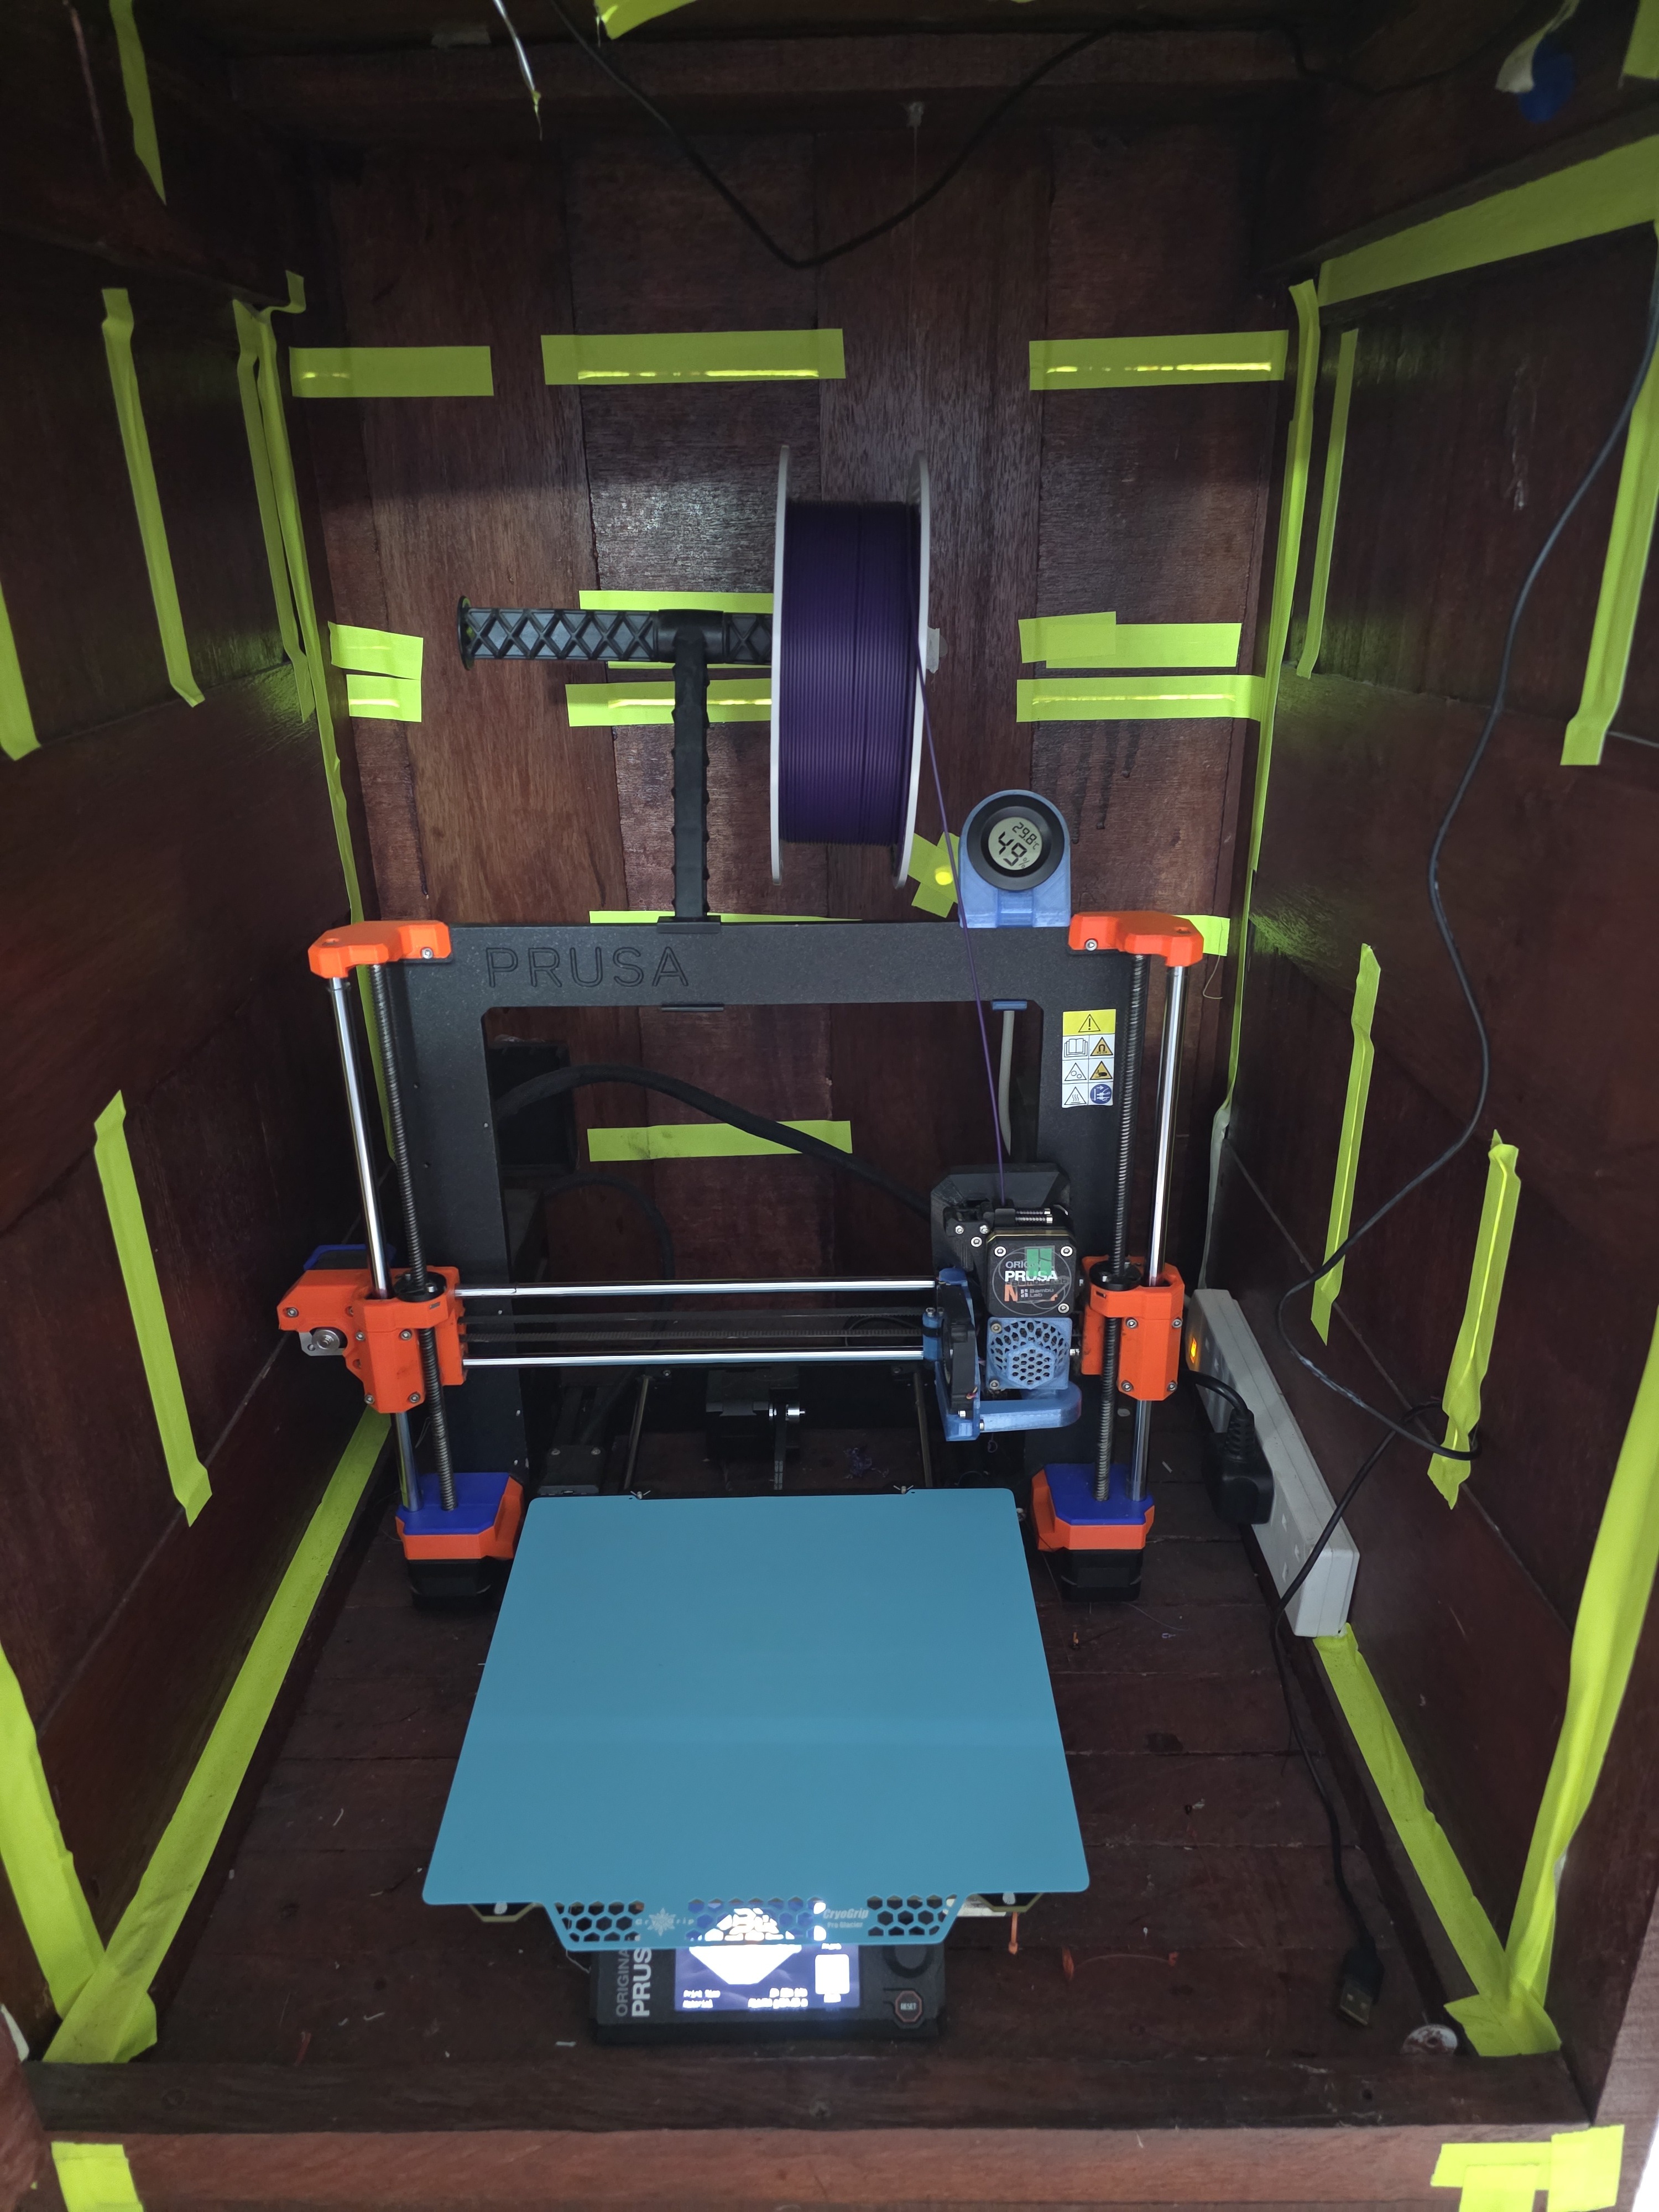
- Build plate clean, dry and correctly fitted
- Correct filament loaded and enough remaining
- Spool able to rotate freely
- No previous print, tool or debris in the build area
3. Start and watch
Start the job and remain beside the printer until the first layer is complete. Stop if the filament does not stick, the print lifts, spaghetti forms, feeding stops or the printer behaves unexpectedly.
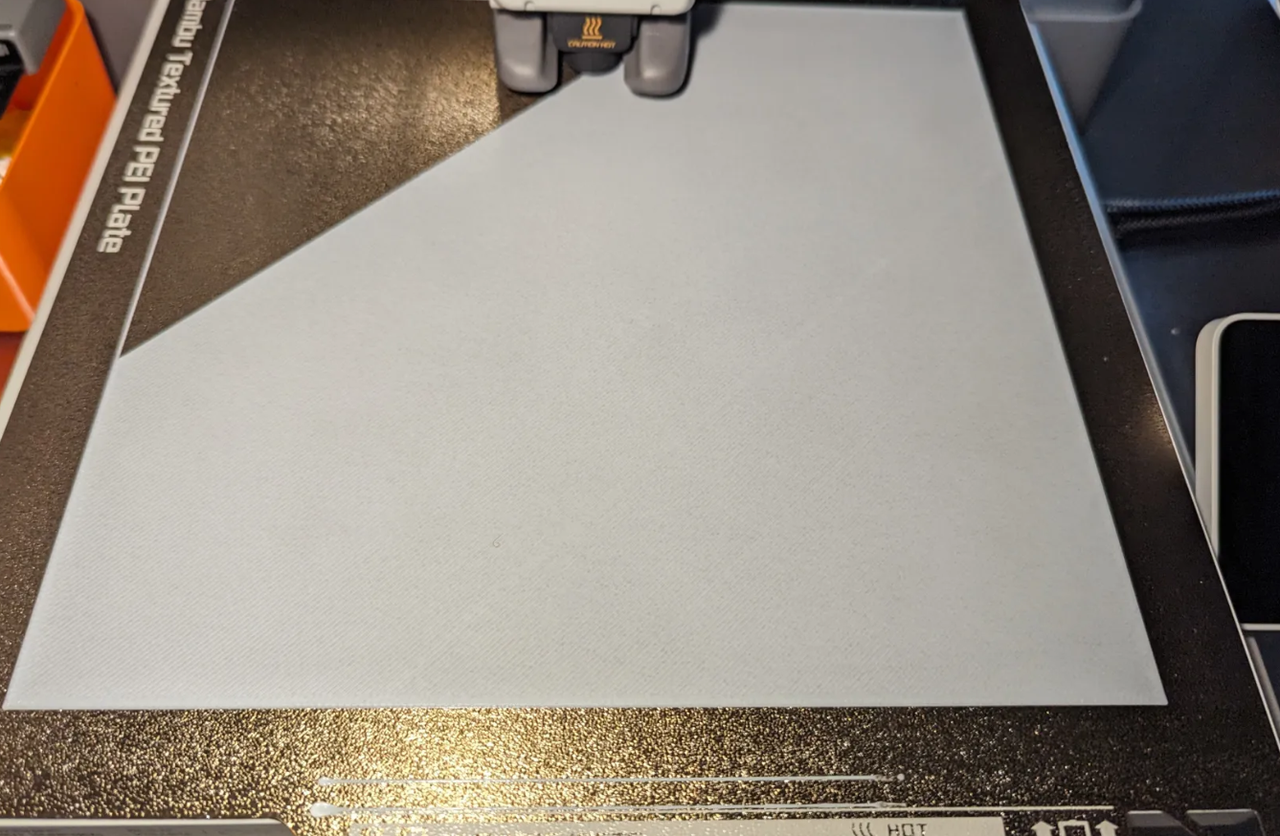
A competent member must remain in the Hackspace for the entire print.
4. Remove the print
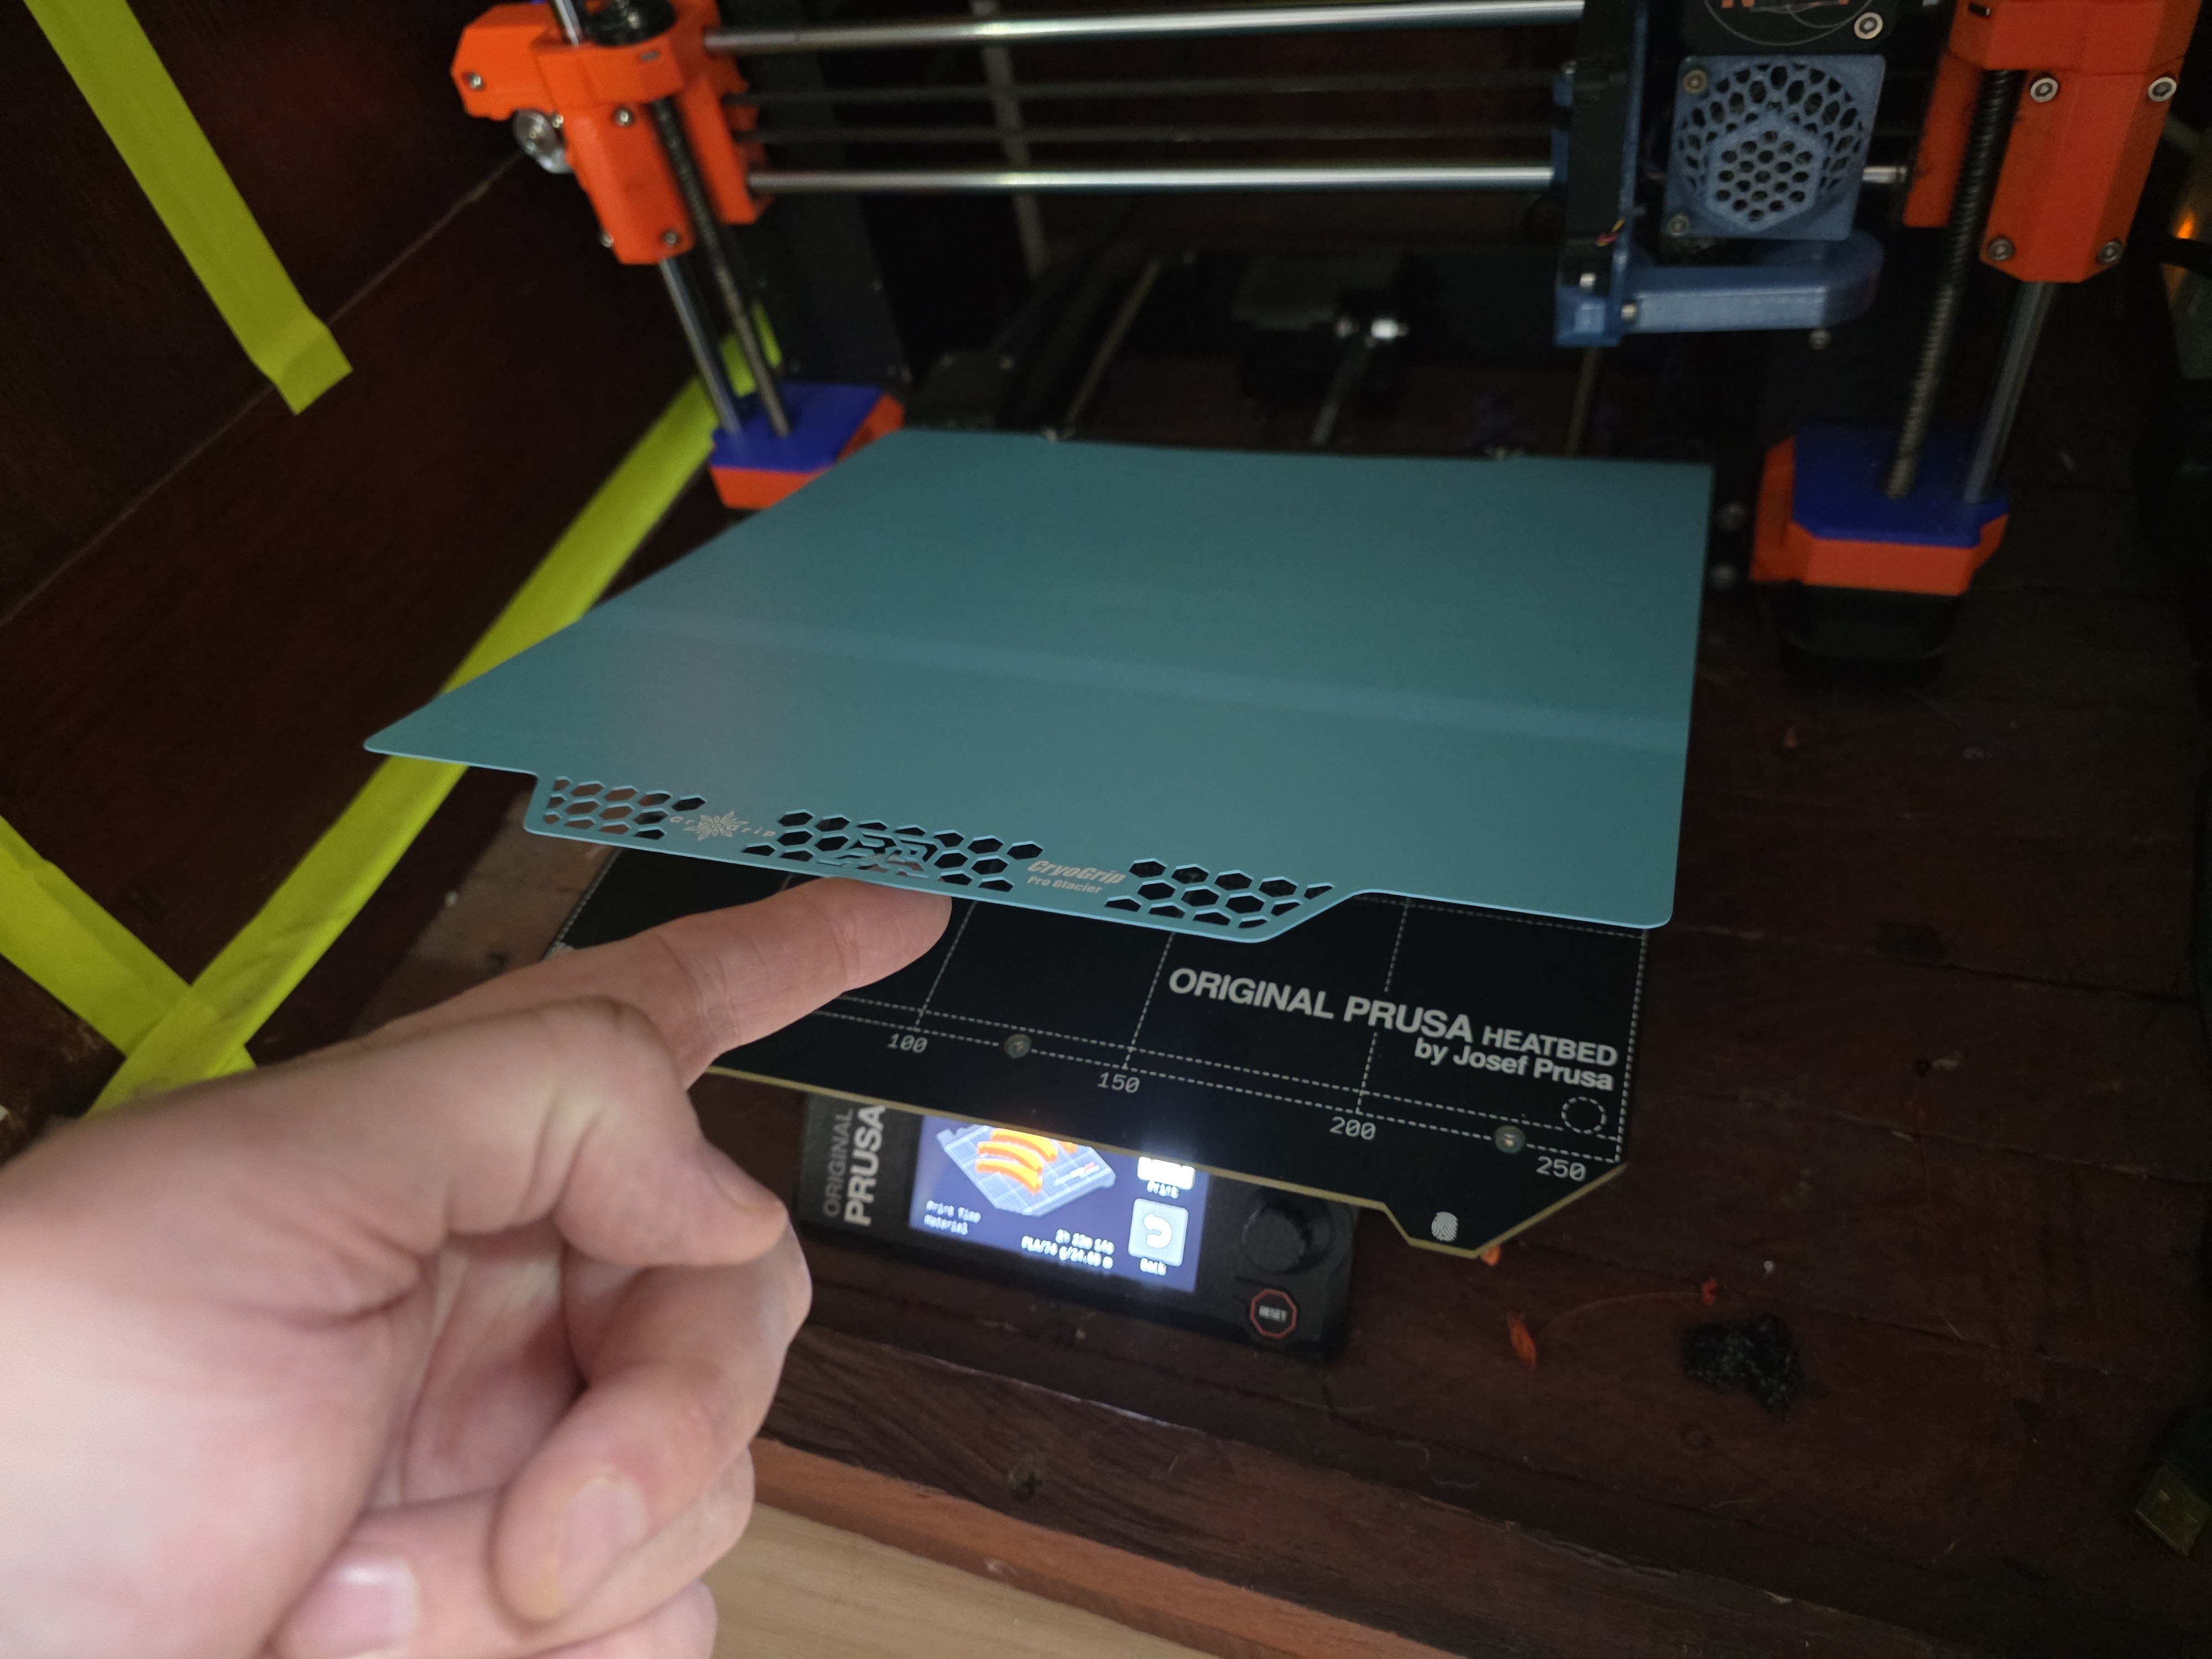
Let the plate cool where possible. Remove it from the printer and flex it gently away from people. Clean, dry and refit it squarely.
5. Finish
Remove waste, return tools, secure filament ends, report faults and pay 4p per gram through Snackspace for all Hackspace filament used.